Fall:
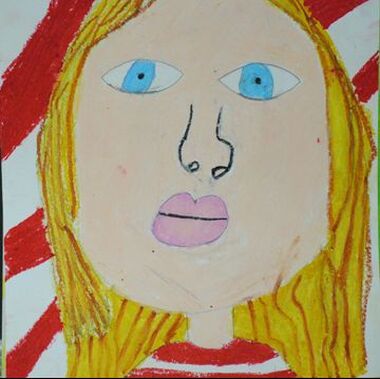
Self Portrait Lesson Plan
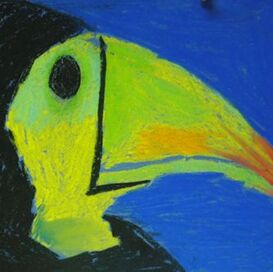
Toucan Lesson Plan
|
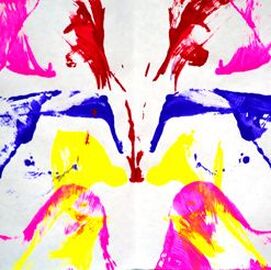
String Paintings
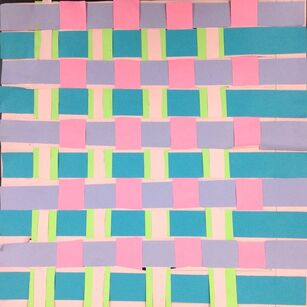
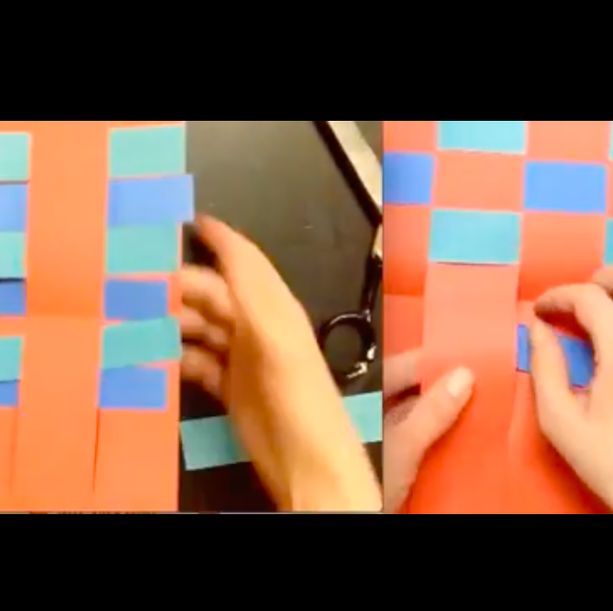
Layered Paper Weaving Demo
|
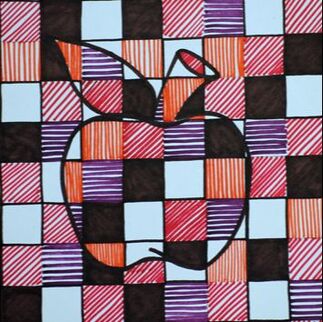
Fall Line Objects
Lesson Plan, Levels & right vs wrong
|
Winter:
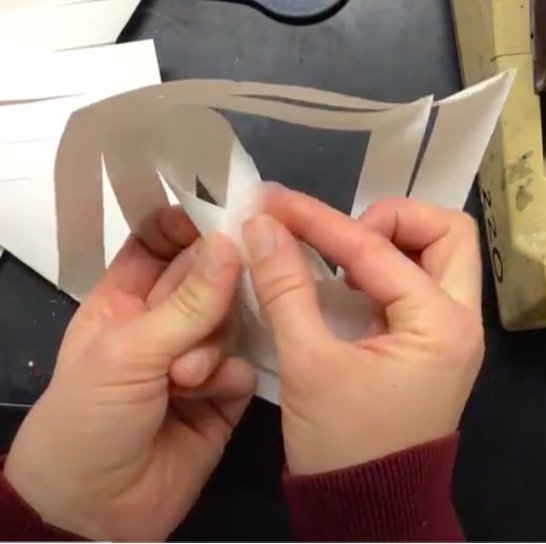
3D Snowflake Demo
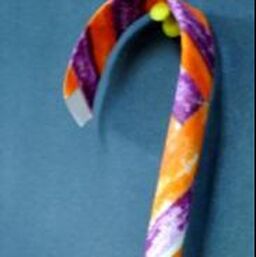
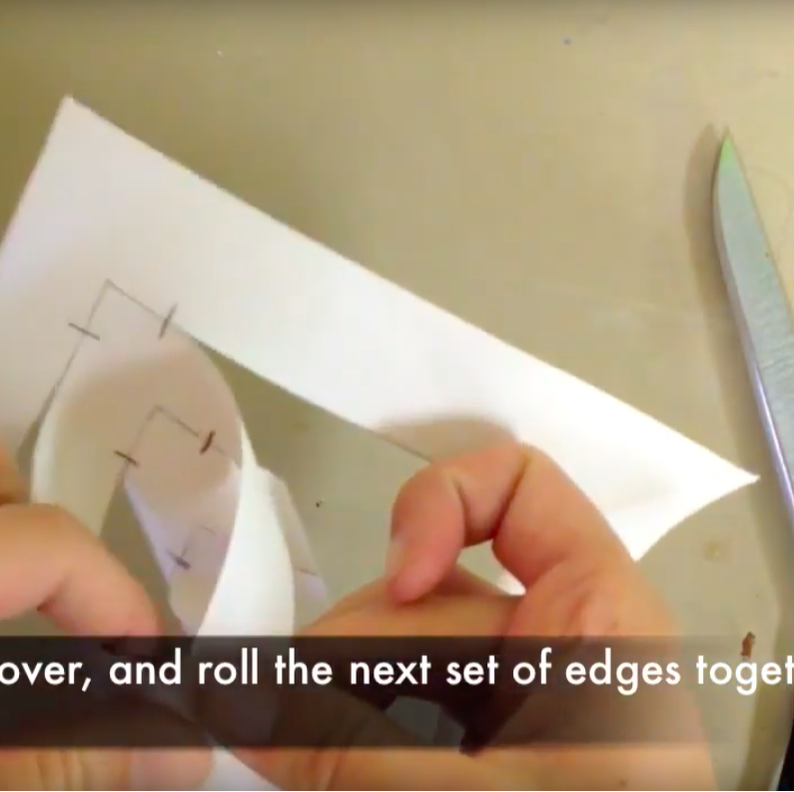
Paper Candy Cane Sculpture
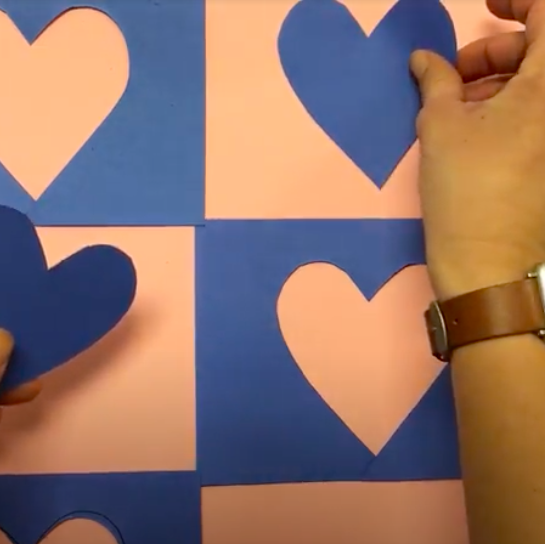
Notan Heart Video Demo
|
3D Snowflake Lesson Plan Single Piece Demo
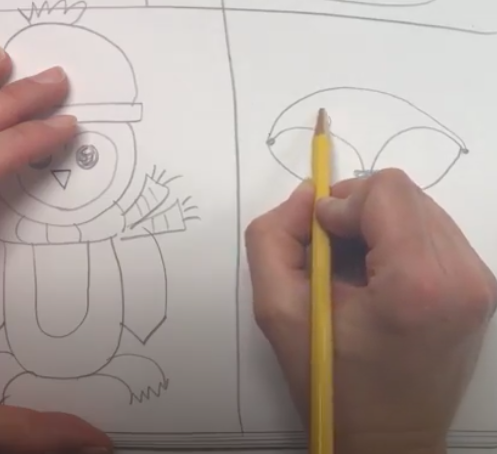
How to Draw Winter Animals Video Demo
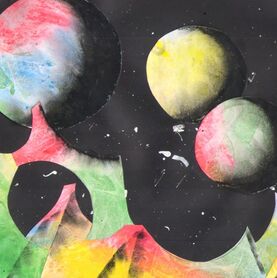
Outer Space Video Demo
|
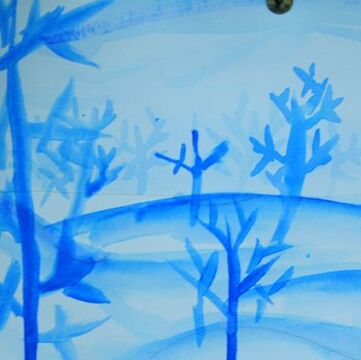
Monochromatic Watercolor Trees
Winter Activity
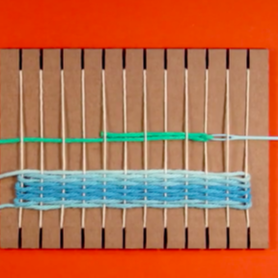
Yarn Weave on a Loom Video Demo
|
Spring:
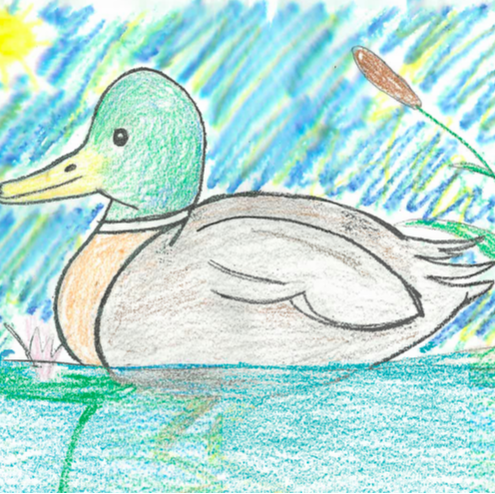
Water Birds Lesson Plan, Demo, & Images
Jungle Animals Video Demo
|
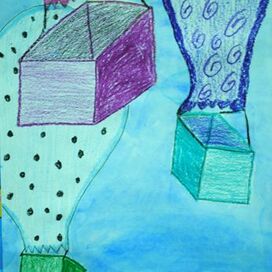
Hot Air Balloons
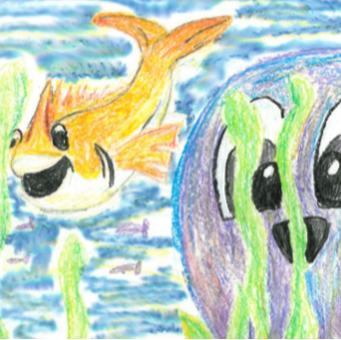
Underwater Scene Video Demo
|
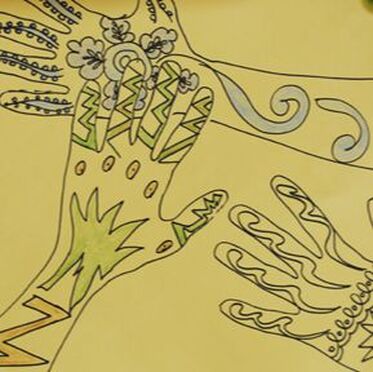
Hand Henna Lines
|
